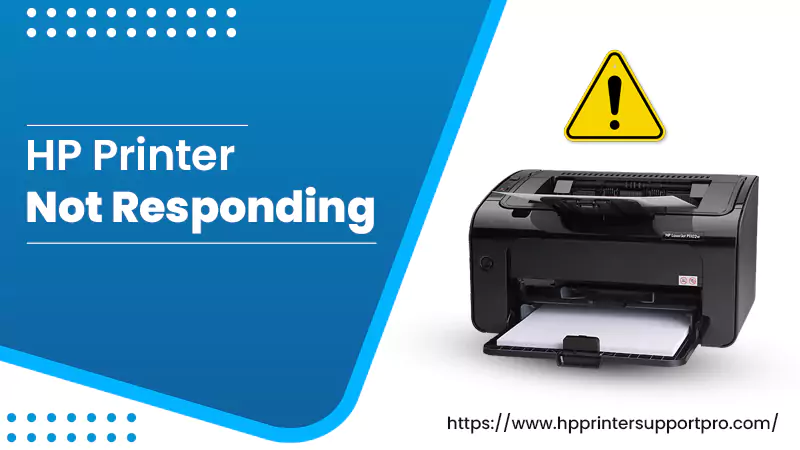
Causes Of the HP Printer Not Responding Issue
Several realistic factors are responsible for the HP Printer Not Responding error. A few of them are enumerated below. Check out once:
- Faulty USB cable
- Loose cable connection
- Printer loosely connected
- Improper software installation
- Missing printer driver
- Corrupt printer driver
- Paper tray empty
- Ink cartridge empty
Solutions To Fix the HP Printer Not Responding Issue
We have outlined genuine and effective ways to get rid of the HP Printer Not Responding error. Therefore, implement the following solving methods one by one until the problem disappears from the root. Let’s begin:
Solution 1: Verify The Printer Connections
You should immediately check and verify the printer connection whenever you see the HP Printer won’t Print error message. Most of the time, such an issue arises due to a connectivity issue. Here’s what you need to perform:
- First, shut down your PC and turn off your HP printer and any other external components attached to it.
- Now, unplug all the cables and wait for around 2-3 minutes.
- Attach all the cables properly now and restart your computer.
- Wait for your printer to be inactive and silent.
- Also, you can test your printer by connecting it to another system.
- Check all the cables that are used to connect the devices. Make sure cables are appropriately plugged in.
- If the printer connects via a USB port, try connecting it to another USB port.
If the HP Printer is Not Responding, move to the next solution.
Solution 2: Reboot The Print Spooler Service
To print with no hindrance, Windows relies on the Print Spooler service. But certain issues with this service can also trigger the Printer Not Responding error. And, restarting the spooler service can probably resolve the printer problems, and everything will start working again. So, follow the instructions below to do the same:
- Press Windows Key + R together to invoke the Run command.
- Type in “services.msc” in the search field.
- Now, hit “Enter” or tap the “OK” button.
- After doing so, the Services window opens.
- Locate the “Print Spooler” option from the given list and then double-click on this tab.
- Now, open the “Properties” window by placing a single click on it.
- Afterward, set the Startup type to “Automatic” and select the “Start” button to start the service.
- If the service is not running well, click the “Stop” button present under the System Status tab. And then click “OK”.
- Now, wait for a couple of minutes and then again tap the “Start” button.
- Now, reboot your system to see if the Printer Is Not Responding error has been solved or not.
Use the next solution if the above one doesn’t work.
Solution 3: Make Sure The Printer Is Accurately Configured
Here’s how to check it out:
- First, open the Control Panel on your Windows Desktop.
- Now, go to the “Devices and Printers” section.
- Find your printer from the list of printers; place a right-click on it.
- Now, choose the “Printer properties” tab.
- Go to the “Ports” tab.
- Make sure the correct port is chosen.
- Now, click “Apply” and “OK” to finally save the changes.
After making all these basic adjustments, check if the printer is responding or not. If the same problem still persists, go to the next solution.
Solution 4: Reinstall The Printer Driver
If the Printer Is Not Responding till now, then try reinstalling the printer driver. Here’s how to do so:
- First, press the “Windows + R” keys on your keyboard to open the Run command.
- Now, type “devmgmt.msc” into the Run dialog box and hit “Enter”.
- Expand the Printers category. Then choose the printer you are using and place a right-click on it.
- Now, select “Uninstall device”.
- Give a check to the option “Delete the driver software for this device”, and then click “Uninstall” to confirm.
- Now, the Printers category has been removed.
- Further, reinstall the latest release printer driver via the manufacturer’s site.
Once you have the upgraded version of the printer driver on your PC, your printer will start responding. But if, unfortunately, it is not working, move to the next solution.
Solution 5: Select Your Printer As A Default Printer
If your printer is not selected as the default one, then the HP Printer Not Responding error will definitely occur. So, check it out first and ensure that it is opted for the default one. If not, follow the given steps:
- First, open the Cortana Search Box on your Windows system and enter default printer into the search field.
- Now, select “Change default printer” to directly open the window.
- Now, at the bottom left of that window, you can see the option “Let Windows manage my default printer”. If this option is on, then switch it off by pressing the button.
- Now, from the Control Panel, go to the “Devices and Printers” tab. And make sure a green tick is highlighted for your default printer. Alternatively, you can right-click on the printer and select the “Set as default printer” option.
HP Printer Not Responding on Windows problem will now be annihilated from the root. In the next section, we will see how to fix the same problem that appears on macOS. So, continue reading!
Solutions To Fix Printer Is Not Responding on Mac
We will walk you through the productive course of action so you can easily fix Printer Not Responding Mac. Simply, try the following stepwise methods to solve it:
Solution 1: Reset The Printer/Network Connection
- First, turn off your printer, wait for at least a minute, and then turn it on to resume the operation.
- Print a test page to check if the HP Printer Not Responding on Mac issue has been rectified. If it is not yet, proceed to the next step:
- Go to the “Apple” menu.
- Select the “System Preferences” option from the given list. Doing so, a new window with the same name appears.
- Under the “Hardware” section, click the “Print & Scan” tab.
- Now, place a right-click anywhere on your Printers window display and press the “Reset Printing System” tab.
- Now, tap the “Reset” button in the confirmation wizard.
- After doing so Admin prompt may appear on the screen.
- Next, you will have to enter your Admin ID and password correctly.
- Then, click the “OK” button on the wizard.
- Finally, press the “Reset” button.
After resetting the printer, the Printer Not Responding Mac error might have been resolved. But if not yet, use the next solving guide.
Solution 2: Check The USB Connection
Make sure the USB cable is not damaged, otherwise, you can face the Printer Not Responding error. Also, you have to ensure that it is securely connected to the ports of both the printer and the Apple device. Always prefer a USB 2.0 cable while connecting the devices. Once you connect that, follow the steps :
- Once the cable is connected properly, select the “System Preferences” option from the menu.
- Now, under the “Hardware” section, click the option ‘Print & Scan.
- Wait for the system to identify the target printer.
- Now, select your exact Printer model and hit the “Add” button to successfully add your printer in the printer list.
- At the end, print a test page to see if your printer is functioning well.
I think you got your answer to your query How to Fix Printer Not Responding on Windows or MacOS.
Obtain HP Support Assistance Anytime From Our Tech-Savvy
If you are still experiencing the HP Printer Not Responding issue even after precisely executing the aforementioned guidelines, contact us. We are deft connoisseurs working dedicatedly day to night to serve you one-stop HP Support at your doorstep. So, feel free to call us at the 24/7 accessible helpline number and get united with us. After following our guidance, it is 100% surety that your printer will start functioning well.