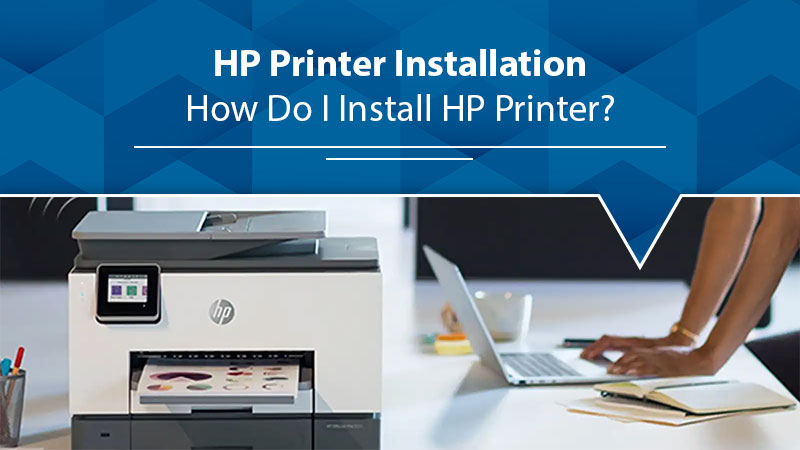
Trying HP printer Installation by yourself but couldn’t succeed? Well, you are not alone, many like you try installing the printers but fail due to lack of enough knowledge about the printer setup. Though not that difficult, yet it requires some predetermined steps to be followed in a specific manner for quick printer installation. This guide covers every basic step, beginning from HP printer unboxing to HP printer software installation till getting that first printout. Wanna learn! So, let’s get started.

How to do HP printer installation?
The following are the easiest and quick steps to help you install an HP printer to your Windows PC. Whether you have a USB-compatible printer or if you are working with a network printer, these steps work in every scenario. Here is how you should start HP printer installation.
Step 1. Prepare things important for printer installation
Depending on your skills and technical expertise the printer installation may take 30 minutes to an hour. So spare enough time, keep your mind relaxed while following the instructions. Prepare the following stuff before initiating printer installation.
- HP printer.
- A 4 size paper.
- Ink cartridges.
- Windows computer or laptop.
- Wired or wireless router (the network should be stable and high speed).
- USB cable for the supported printers.
Step 2. Prepare your HP printer now!
Assuming you’re ready with stuff required for HP printer installation, now you must prepare your printer. Follow the steps given below. However, these steps are only relevant if your printer is new or if you are setting it up for the very first time. Otherwise, you may jump over to step 3.
- Firstly, unbox your HP printer and place it in a neat and dry place.
- Now remove all the tapes, clean the adhesive from your printer.
- Make sure no packing material is there within your printer or over the scanner lid.
- Take out the power cord, connect it’s one end to the printer and another into the wall socket.
- Turn on the power button and choose the language on the printer’s screen.
- Place the A4 size sheets on the feeder tray and now your printer should be ready with the initial setup.
Step 3. Insert the ink cartridges
Cartridges stores the fluid to prevent printers from running out of ink. Inserting ink cartridges into your printer might sound like an easy task but it has to be done carefully. Also, you should always use the genuine HP ink component and never compromise in this aspect. Here’s how you can install the ink cartridges on your HP printer.
- Disengage the top cover of your printer and lift it up. Technically the cover is called a cartridge access door.
- Now unpack the ink cartridge.
- Remove the orange safety sticker from the cartridge.
- Now insert the ink cartridge in the slot and gently push until you hear a nick sound.
- Make sure the HP label is facing upwards.
- Now close the top cover of your printer.
You should be sure while installing the ink cartridges, any confusion might trigger an error and can cost you a printhead or ink cartridge. Getting in touch with HP printer installation help can get you rid of printer setup issues.
Step 4. HP printer setup via USB or WiFi
Now you need to connect your HP printer to your computer either through a Wi-Fi network or via USB cable. If you don’t want to install an additional driver then simply follow method one and set up using a wireless network.
Method 1. Add WiFi printer to Windows
- Turn on your Windows computer.
- Search for Change device installation settings and hit Enter.
- Click Yes on the new window.
- Ensure to place your printer near the Wi-Fi router.
- Now turn on your printer and start connecting to the network.
- On the printer Control Panel, click the Wireless setup wizard.
- Click Settings or Network setup menu.
- Choose your network name, enter the password and click Ok.
- In case your printer doesn’t have a Control Panel, then simply press and hold the Wireless button on your printer until the light starts blinking.
- Then press the WPS button on the router and your printer will establish a connection with the router automatically.
- On your system, search for Add a printer or scanner menu.
- A new window opens, select the name of your printer and click Add a device to finish the setup.
- Couldn’t find the printer on the list? Click “The printer that I want isn’t listed” and keep following the on-screen instructions to add the printer.
Method 2. Add USB compatible printer to Windows
- Click the search bar, type Change device insertion settings, and hit Enter.
- Click Yes (recommended) option.
- Connect the USB cable to your printer and to the computer port.
- You will see a new window saying “Found new hardware,” choose the appropriate option and follow the prompts to install the printer.
- On the search bar type Add a printer or scanner and hit Enter.
- Choose the printer from the list and if you couldn’t find it, then click “The printer that I want isn’t listed.”
- Now click Adda local printer or network printer with manual settings and click Next.
- Under a Printer port window, click Use an existing port and select USB001 and click Next.
- Follow the on-screen prompts to connect your USB-compatible printer to the computer or otherwise follow the instructions of step 5 for HP printer software installation.
Step 5. Install HP printer software
- Turn on your PC.
- Open the Chrome browser and type 123.hp.com/setup and hit Enter.
- You will land on the HP printer installation support page, navigate to the Support section, and click Download Drivers.
- Again a new webpage will open, here click Printers.
- Now enter your printer model name under “Enter your Product name” and click Submit.
- Now follow the on-screen instructions and download the installer to set up an HP printer on your Windows computer.
- Always download the Full Installation Package.
- Go to the download folder under File Explorer and look for the HP_Printer_Installer file.
- Double-click over the file and click Run on the permission dialogue box.
- Follow the instructions and complete the printer driver installation process.
Facing trouble connecting your printer to the Windows or printer refusing to connect to the network? The trailing section will help you get rid of it.
Common HP printer installation problems and how to deal with them!
1. What to do when an HP printer could not connect to the network?
- Place your computer and printer closer to the Wi-Fi router.
- You can also try to restart the printer, computer, and router.
- Ensure that your printer is in a ready state and ready to deliver the printouts.
- See if the Wireless light is blinking on the Wi-Fi router.
- Restart the router, disconnect the power cord and reconnect it after 20 seconds.
2. Why did the USB connection setup fail during the HP printer installation?
- Verify that the USB cable is not frayed and healthy.
- You must replace it if needed.
- Try restarting your printer and computer and let them establish the connection again.
- The USB cable length should not be more than 3 m or 9 feet and the port should be USB 2.0 or greater.
HP printer is installed but not printing? Call HP printer support
So, that’s how we installed many HP printers around. Whether you have a USB, wireless or wired printer, this HP printer installation guide will help you out in printer setup. Once you’re done with the installation process, you can start printing, and always make sure to turn off the printer when you’re finished printing. That way you will be able to keep the printhead in optimum condition and prevent it from jamming. Facing trouble of any sort! Get in touch with primer experts today.


